
Unrouted Stops
Sometimes EasyRoutes cannot use an order that you are trying to route. This could be for a number of reasons, such as the stop having a bad address or being inaccessible, or just not fitting into the route options you've set.
If EasyRoutes rejects stops for any reason when creating a route, a warning banner will be displayed at the top of the route, and an Unrouted stops tab will be shown:

Click on the tab to view the stops that were not included when creating this route. Reasons for their unrouted status will be displayed in the table below the map. Click on the Actions menu and edit the stop to make any corrections, or adjust enabled route options to accommodate these stops.
Why was my stop unrouted?
| Reason | Explanation |
|---|---|
| Unable to route to stop or parse address. | This is a generic reason when no more specific reason could be determined. |
| Unable to route given route constraints. | This can happen when the route has one or more constraints (e.g., max duration, max items, time windows) that made it impossible to visit this stop. Consider adjusting the constraints, adding more capacity (e.g., an additional vehicle), or deferring this delivery to a future date. |
| Unable to find a route to this stop. | This can happen when the stop's location is somehow inaccessible (e.g., island with no bridge, extremely far away relative to all other stops, accidentally included a European stop in a North American route). Double check the address and if necessary manually adjust the latitude and location and re-optimize. |
| Unable to parse this address. | This can happen when the stop's address was unable to be geocoded while generating the route. Double check the address and if necessary manually adjust the latitude and location and re-optimize. |
| Unable to parse customer email address. | This can happen when the stop's customer email address was determined to be invalid while generating or saving the route. Double check the email address by editing the stop and try again. |
| Unable to parse customer phone. | This can happen when the stop's customer phone number was determined to be invalid while generating or saving the route. Double check the phone number by editing the stop and try again. |
| Manually placed in unrouted stops. | The stop was manually unrouted (see below). |
| Too far from nearest accessible road. | This can happen when the address is inaccurate or in more rural areas with long driveways, private roads, and when the only access is via service / dirt trails. Double check the address and if necessary manually adjust the latitude and location to the nearest major public road and re-optimize. |
Manually Unrouting Stops:
Individual stops on a route can be manually unrouted, effectively removing them from their current route and sending them to that route's Unrouted stops tab for further, centralized review.
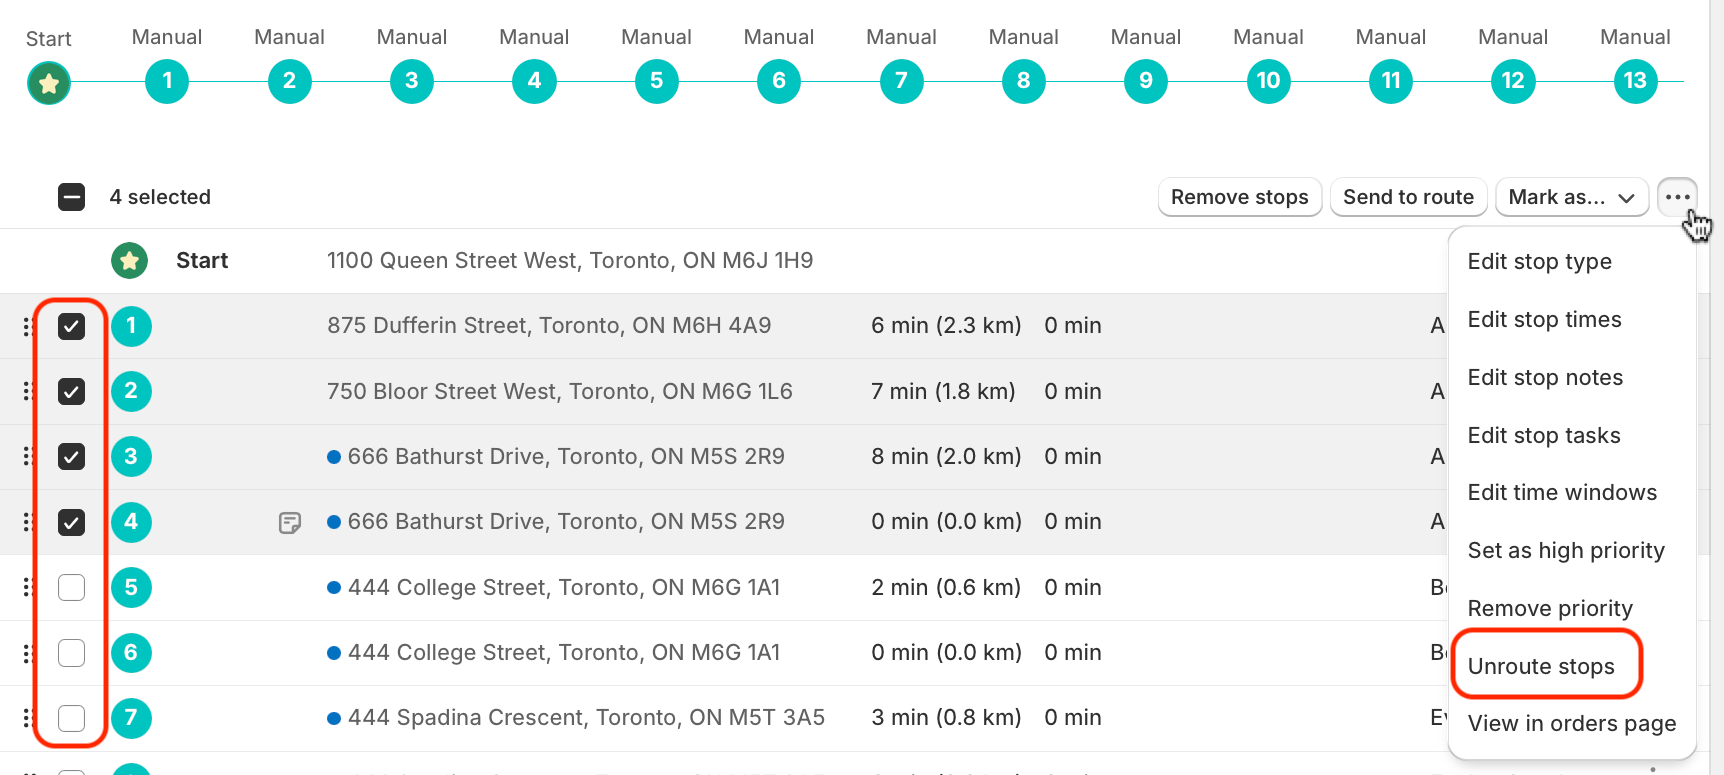
- Use the checkboxes to select stop(s) to unroute, and select Unroute stops from the More actions button that appears in the upper right-hand corner of the table:
- Stops can also be manually unrouted individually from the Actions column (far right-hand side) for any stop within the route table:

- More of a visual planner? Click any stop's pin directly on the map, then click the Actions button - select Unroute stop from the menu that pops up:

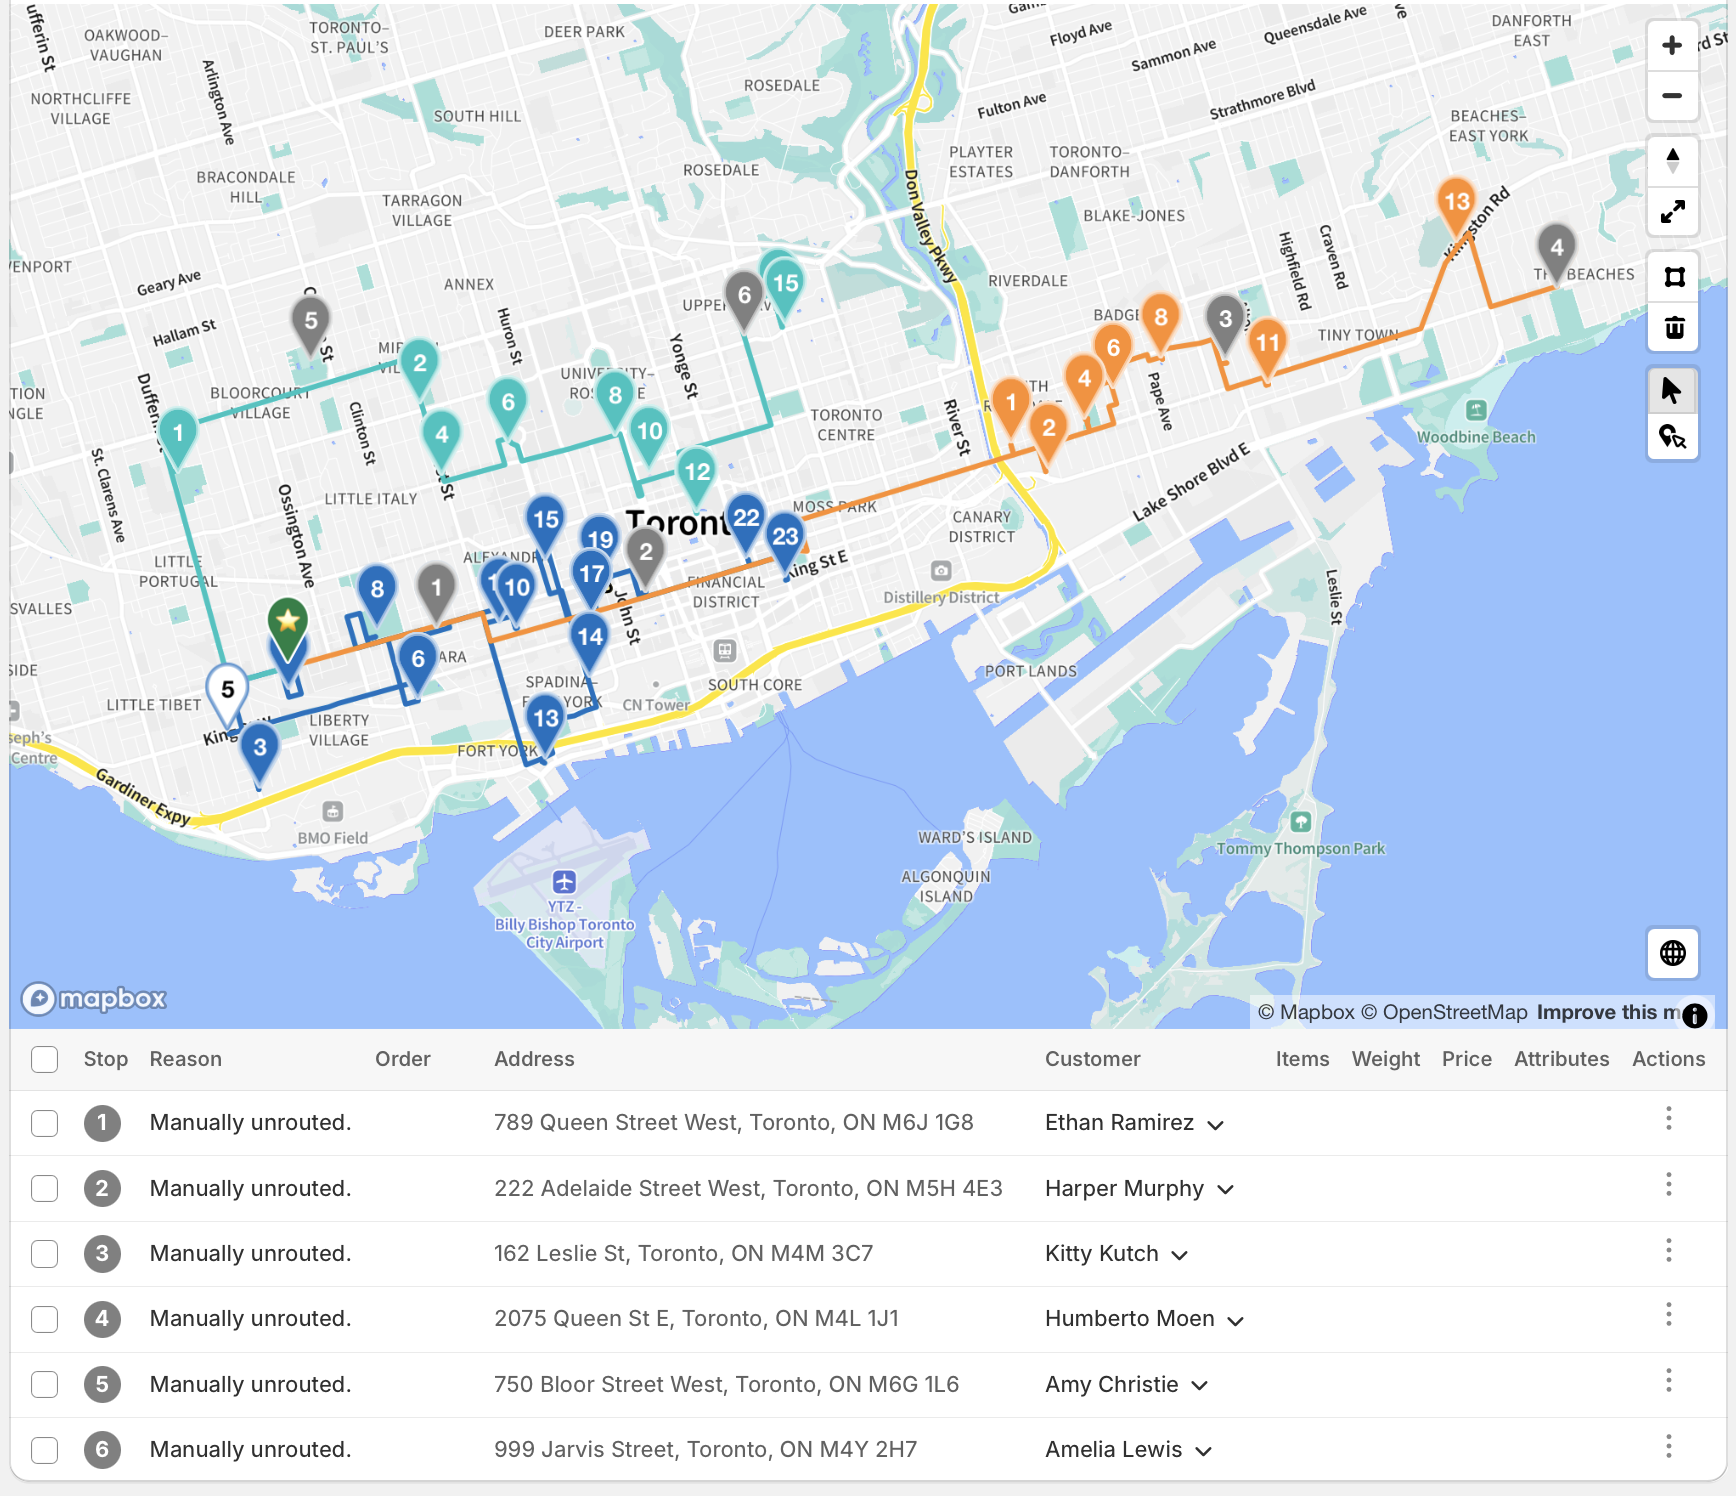
Unrouted Stops on Route Groups:
When working with Route Groups, stops that have been unrouted from any route belonging to a group are listed together; their stop pins will display in a grey colour on the map (alongside the group's multi-coloured route lines) for quick visual inspection.
Note: You must be accessing the All routes view for a group, as opposed to any of the individual views for the routes contained in that group:
Click any grey pin on the map and access the Actions button to select Edit stop and make any necessary changes. Alternatively, use the Actions button (three dots icon) on the far right-hand side of any stop in the route table to select Edit stop and make required changes.
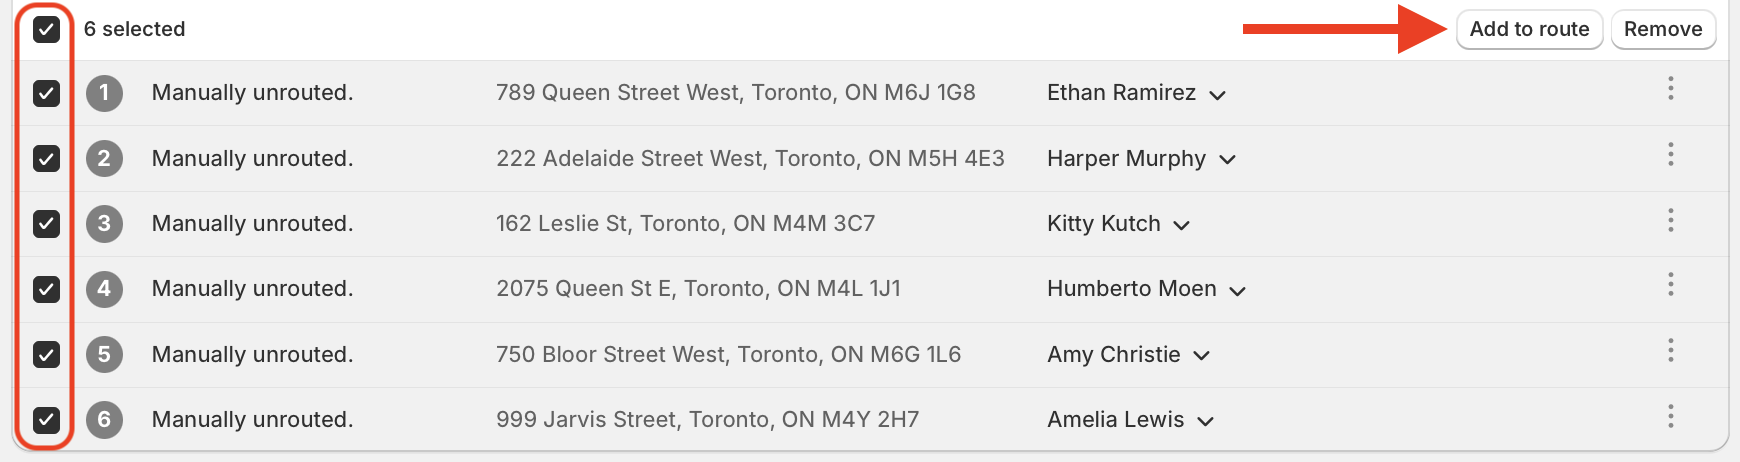
Once you're satisfied with any changes, use the checkboxes to select which stops you'd like to add back to a route, and click the Add to route button that appears in the upper right-hand corner of the table:
You'll be presented with a dropdown menu to select which route within the current group you'd like the stop(s) to be added back into. Select your preferred route, click Add, and be sure to use the Save button at the top of the page to confirm your changes:

Adding Unrouted Stops to a new or existing route
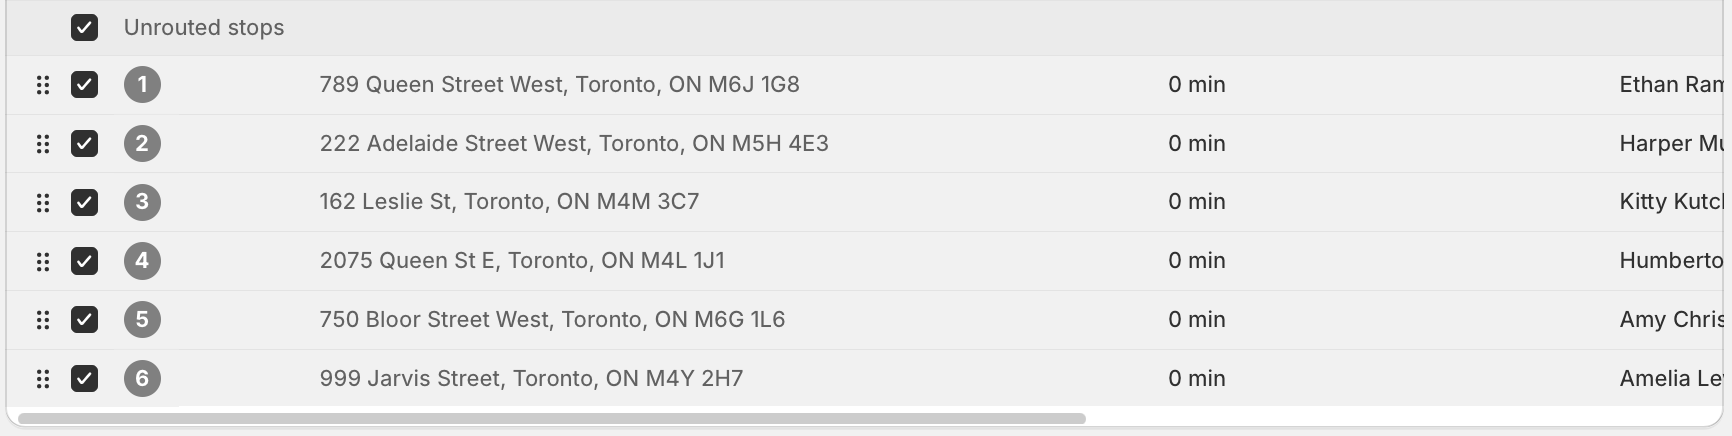
From the Unrouted Stops tab of any route, use the checkboxes to select the stops that will be moved to a new route. Click the Add to route button to temporarily add them back to the same route they were unrouted from:
Access the Stops tab for the same route - any stops that were unrouted and re-added in the previous action will be the last entries on the list of stops. Use the checkboxes to select these stops:
Once selected, a new menu will appear in the upper right-hand corner of the table; from here, click the More actions menu (three dots icon) and select the Send to route button:

Use the Send to new route button in the top right-hand corner of the page to immediately add the selected stops to a new route. Alternatively, existing routes created in the past 30 days will be listed below the map - use the Filter routes search bar and/or Add filter toggle to refine the Routes list, and select any route's name from the list to add the selected stops to an existing route:

Notes on Send Options:
- Determining whether to send stops as a copy or as a new stop will depend on your delivery/fulfillment workflows:
- Send stops as a copy if you want to preserve the original stop's information and status.
- Send stops as a new stop if you want to treat the new stop as a fresh attempt at delivering.
- Similarly, choosing between preserved or new tracking links will depend on your delivery/fulfillment workflows:
- Preserve the tracking links if you want to maintain continuity with the customer for these stops.
- Use new tracking links if you'd prefer to generate and send a new tracking link for these stops.